Live streaming pre-recorded videos on Facebook offers a unique way to engage audiences. This method allows creators to broadcast content as if it were happening in real-time, enhancing interaction with viewers. Using streaming software like Castr, users can upload pre-recorded video files and stream them live on their Facebook page. This allows users to leverage live video to enhance engagement and reach. This approach is perfect for those who want to schedule a live event without the pressure of being live directly.
Castr directly integrates with Facebook, allowing users to stream pre-recorded videos with just a few clicks. Our pre-recorded streaming service also supports streaming on multiple platforms.
In this blog post, I’ll show you how to livestream pre-recorded videos on Facebook using Castr.
Is it possible to livestream pre-recorded videos on Facebook?
Yes, you can livestream pre-recorded videos on Facebook. This process allows creators to share pre-recorded content as a live broadcast, engaging audiences in real-time. Tools like Castr make this simple and efficient.
With Castr, users can upload multiple videos to cloud storage and schedule live streams according to their desired timeline. This feature is especially useful for businesses, influencers, and creators who want to maintain a consistent streaming schedule without the need to be live at the moment. Additionally, it allows editing and perfecting the video before streaming, ensuring high-quality content delivery.
How to live stream pre-recorded video on Facebook with Castr
- Record and Edit Your Video: Start by recording and editing your video to perfection for the best viewer experience.
- Log In to Castr: Access your Castr dashboard. If you don’t have an account, sign up for a 7-day free trial.
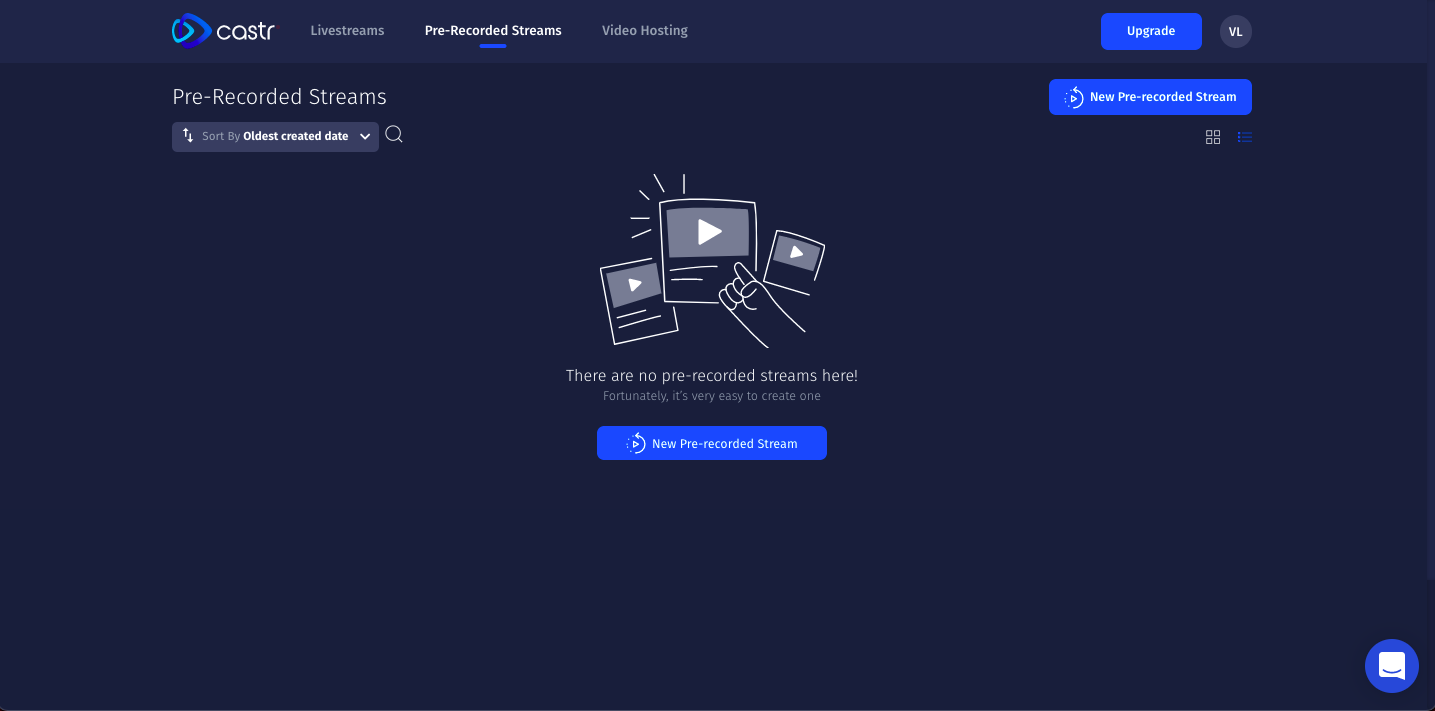
- Select Pre-Recorded Streams:In the dashboard, navigate to the “Pre-Recorded Streams” option.
- Create a New Stream Click “New Pre-Recorded Stream” and name your stream for easy identification.
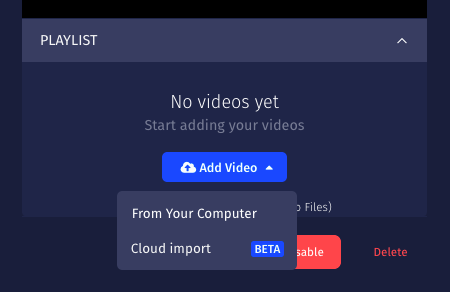
- Upload Your Video Use the “Add Video” button to upload your pre-recorded video to Castr.
- Choose Facebook as Your Destination: Go to the destination menu and select “Facebook Live” to link your platform.
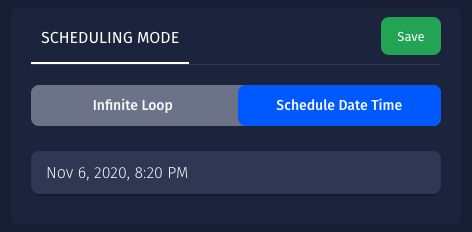
- Schedule Your Livestream: Set your preferred livestream time, and Castr will handle the streaming automatically.
- Add Multiple Platforms for Multistreaming: You can add more destinations to stream to multiple platforms simultaneously, increasing your reach.
- Monitor Video Performance: Use the analytics dashboard to track the performance of your live stream, including audience engagement.
Castr makes sharing pre-recorded videos as live broadcasts easy, maximizing audience interaction and engagement.
Conclusion
Pre-recorded streaming offers a strategic advantage for creators aiming to deliver polished content. Castr stands out with its user-friendly interface and seamless integration with social media platforms like Facebook. Key features include scheduling live stream events, utilizing advanced features, and streaming live across multiple channels.
Castr’s fully cloud-based system ensures easy access and management of pre-recorded videos live. In contrast, its support for third-party software like OBS Studio enhances flexibility. The platform’s analytics provide insights into audience engagement, making it easier to refine future content.
With options like a free plan and subscription plans, Castr caters to various needs, whether for businesses or individual creators. Experience the benefits of pre-recorded live streaming and elevate your content delivery. Try Castr today to explore its capabilities and enhance your streaming strategy.
