Your congregation shouldn’t shrink just because someone can’t be in the building. Yet for many churches, the gap between wanting to stream services and actually doing it feels wide. Ministry teams stare at equipment lists, unfamiliar software, and a tangle of cables, unsure where to begin.
The cost of getting it wrong is real. A choppy video feed or muffled audio doesn’t just look unprofessional; it tells homebound members, traveling families, and first-time online visitors that they’re an afterthought. Volunteers burn hours troubleshooting mid-service. The mission of inclusion suffers.
Live streaming of a church service (broadcasting worship in real time over the internet so remote viewers can participate from anywhere) is within reach for any congregation. You need the right equipment, reliable software, a solid platform, and a handful of proven habits.
This guide covers every step, from choosing your first camera to engaging viewers during the sermon.
Essential Equipment for Church Live Streaming
Before you choose software or pick a platform, you need reliable hardware. A functional setup doesn’t require a five-figure budget. Below is a category-by-category breakdown of what you need, why it matters for worship specifically, and where to invest at different price points.
Pick a Camera That’s Good Enough, Then Spend the Rest on Audio
Your camera captures the visual side of worship, but here’s a useful perspective: viewers will tolerate a slightly soft image far longer than they’ll tolerate bad sound. Pick a camera that’s good enough and spend the rest of your attention on audio.
Camcorders are the simplest option. They’re designed for continuous recording, handle low-light sanctuaries reasonably well, and offer long optical zoom ranges. A mid-range camcorder with HDMI output is a solid starting point.
DSLR and mirrorless cameras produce a more cinematic look with shallow depth of field. They’re great for close-up sermon shots but can overheat during long services and often lack clean HDMI output without an adapter. Check recording limits before buying.
PTZ (pan-tilt-zoom) cameras are the most popular choice for churches. A volunteer or technician controls them remotely, panning and zooming without anyone standing behind a tripod. They mount on walls or ceilings, stay out of the congregation’s sight, and output video over Ethernet, which simplifies wiring.
Start with one camera. Add a second angle once your team is comfortable operating the stream.
Audio Is the Single Most Important Technical Element
Viewers will tolerate imperfect video far longer than bad audio. If the sermon sounds like it’s coming through a tin can, remote viewers leave.
The best approach is to feed audio directly from your church’s existing soundboard. Run an auxiliary output from the mixer into your computer’s audio interface or capture card. This gives you the same polished mix the in-room congregation hears, with controlled gain levels and no room echo.
If your church doesn’t have a soundboard, an XLR lavalier microphone clipped to the pastor’s lapel is the next best option. A shotgun mic mounted near the pulpit works too, though it picks up more ambient noise. USB microphones are a budget fallback for very small spaces, but they lack the flexibility of XLR.
Whatever setup you choose, test your audio levels before every service. A quick five-minute sound check catches problems that would otherwise embarrass you.
Match Your Encoder to Your Team’s Technical Comfort
An encoder converts raw camera video into a compressed digital format suitable for streaming. You have two paths: encoding software on a computer, or a dedicated hardware encoder.
Software encoding means running a program on your computer that takes in your camera feed, compresses it, and sends it to your streaming platform. This approach is flexible and affordable, but it depends on your computer’s horsepower.
Minimum computer specs for 1080p church streaming:
- CPU: Intel Core i5 (10th generation or newer) or AMD equivalent
- RAM: 8 GB minimum, 16 GB recommended
- GPU: A dedicated graphics card (even entry-level) offloads encoding work from the CPU
- Storage: SSD for the operating system and encoding software
- OS: Windows 10/11 or macOS 12+
- Network: Wired Ethernet port (not Wi-Fi)
A hardware encoder compresses video and sends it to a streaming platform without relying on a separate computer. These cost more upfront but are ideal for churches that want a “set it and forget it” solution. Plug in power, connect your camera and internet cable, and the encoder handles everything.
For either path, you’ll also need a capture card if your camera outputs HDMI or SDI. The capture card bridges your camera’s video signal into the computer over USB or PCIe.
Upload Speed Determines Stream Quality
Your upload speed determines whether your stream looks smooth or stutters. Download speed doesn’t matter here; it’s the upload that carries your video to the platform’s servers.
| Resolution | Recommended Bitrate | Minimum Upload Speed |
| 720p (HD) | 2.5–4 Mbps | 5 Mbps |
| 1080p (Full HD) | 4–6 Mbps | 10 Mbps |
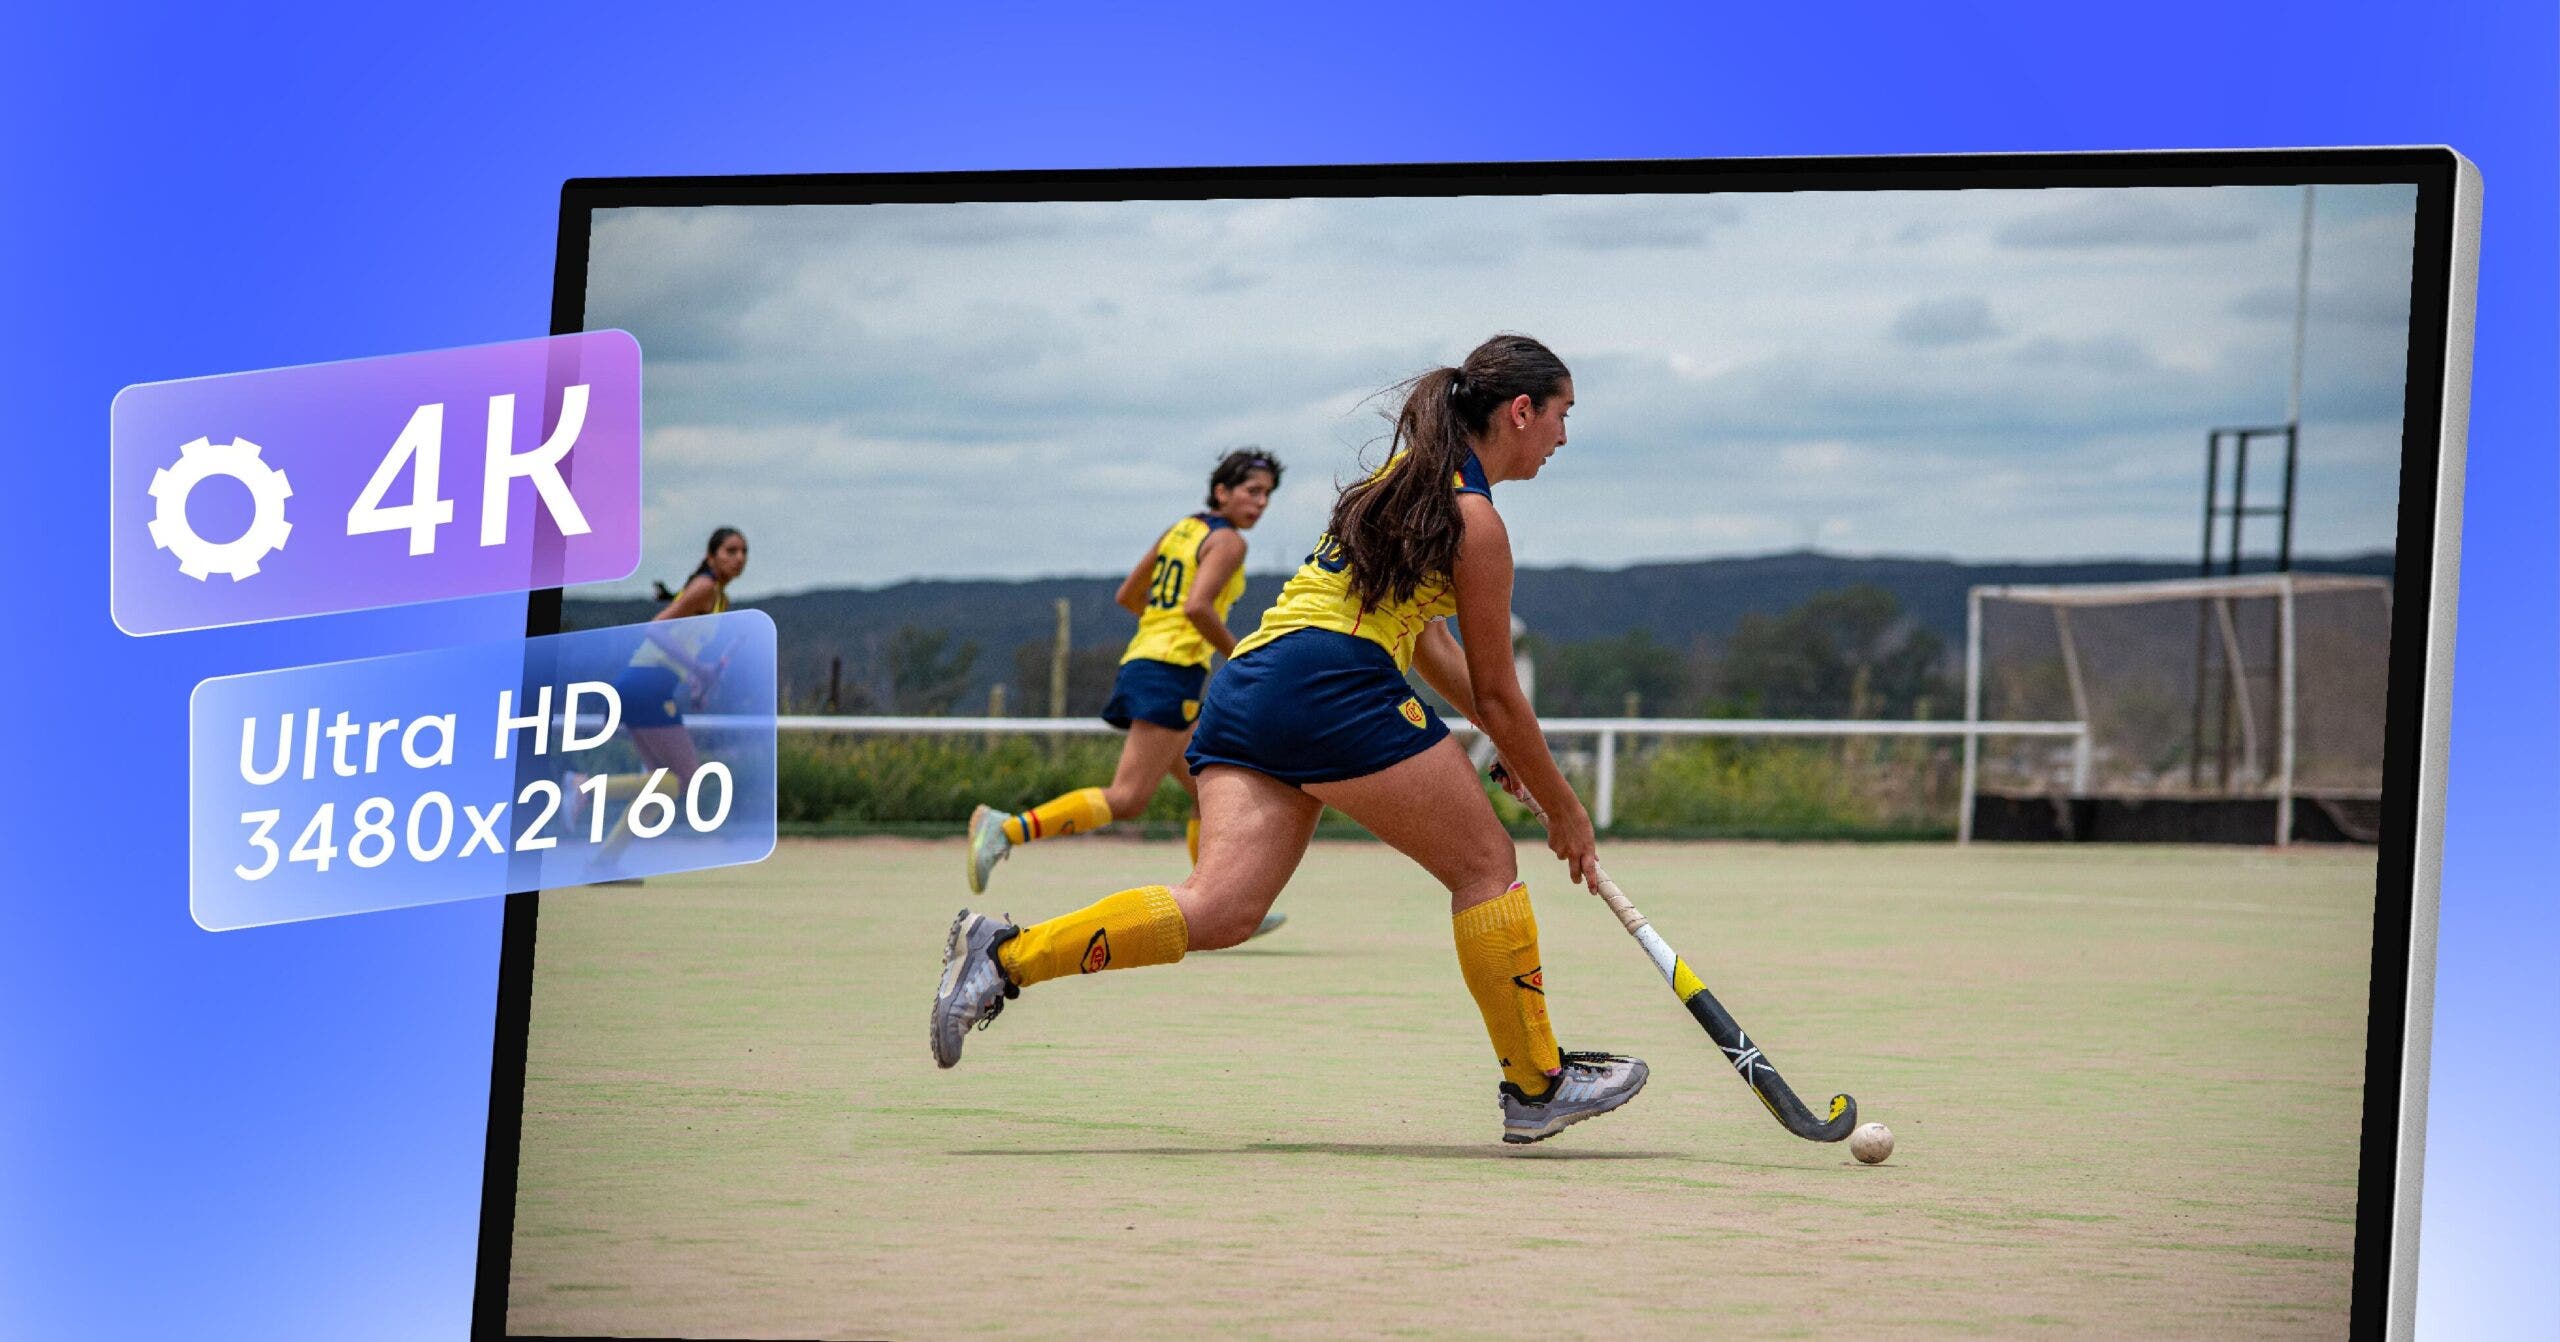
| 4K (Ultra HD) | 13–20 Mbps | 25 Mbps |
Use a bitrate calculator to dial in the right settings for your specific resolution and frame rate. The minimum upload speeds above include headroom for fluctuations; streaming at the exact bitrate with no margin invites buffering.
Always use a wired Ethernet connection. Wi-Fi is tempting because it avoids cable runs, but in a building full of smartphones on the same network, wireless bandwidth fluctuates unpredictably. A single drop during the sermon means a frozen screen for every remote viewer.
Some streaming platforms offer backup ingest, which maintains a secondary connection so that if your primary feed drops, the platform switches to the backup automatically. This is worth seeking out if your internet is anything less than rock-solid.
Test Your Lighting Before Buying New Fixtures
Many churches already have adequate stage lighting for in-person worship. Before buying new fixtures, do a test recording during a service and review the footage. You may only need minor adjustments.
- Add an LED panel as a key light if the pastor’s face appears shadowy on camera. Position it at a 45-degree angle above and to one side of the pulpit.
- Use a second, dimmer panel as fill light on the opposite side to soften harsh shadows.
- Watch for backlighting from stained-glass windows. Bright windows behind the speaker will turn the pastor into a silhouette. Close blinds, adjust camera position, or increase front lighting to compensate.
- Invest in a sturdy tripod (or wall/ceiling mount for PTZ cameras). A wobbly image is distracting.
- Run cables neatly and tape them down. Cable management prevents trips and disconnections, and it keeps the sanctuary looking clean.
- Add a UPS (uninterruptible power supply) to your streaming station so a brief power flicker doesn’t kill the broadcast.
Equipment alone isn’t enough. The software you use to encode and the platform you choose to deliver the stream matter just as much.
How to Choose the Right Streaming Software and Platform
Two separate tools work together to get your service online. Encoding software captures your camera and audio inputs, compresses the video, and sends it out as a stream. A streaming platform receives that stream and delivers it to your viewers across the internet. Some churches confuse the two, but understanding the distinction helps you make better choices for both.
The right combination depends on your budget, your team’s technical comfort, and whether you want to stream to one destination or several at once.
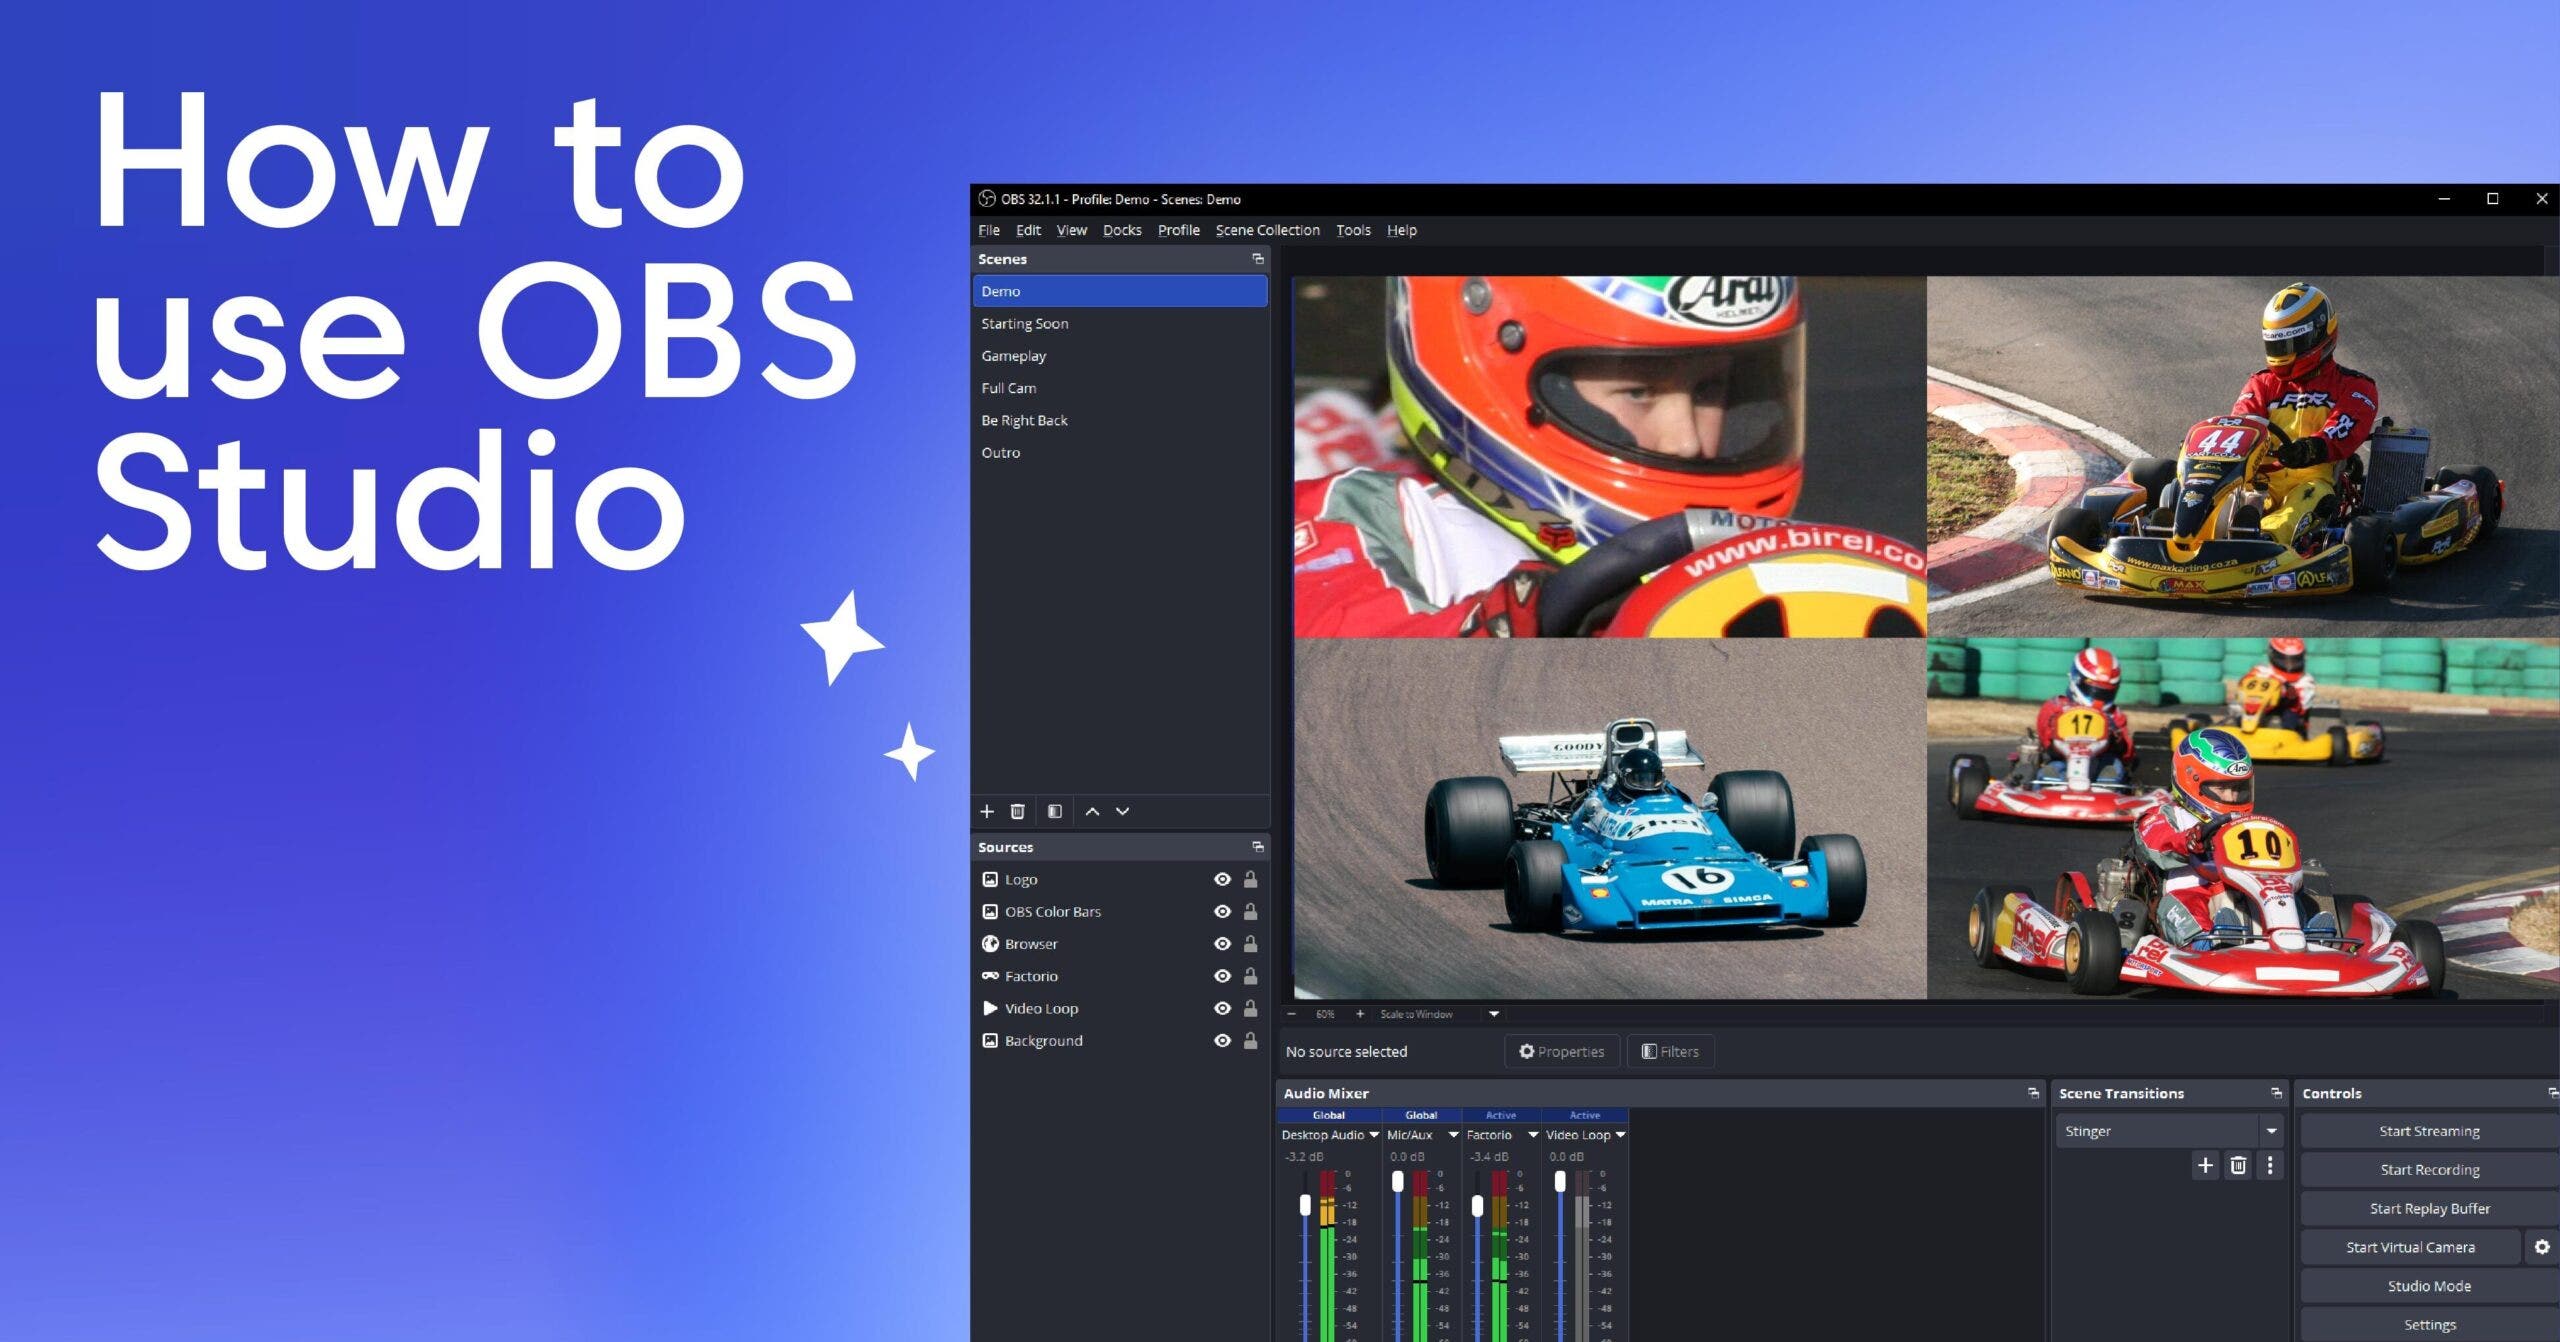
OBS Studio Is the Best Starting Point for Most Churches
Encoding software takes the raw feeds from your camera and microphone, composites them into a broadcast-ready layout (with scenes, overlays, and transitions), and pushes the output to your streaming platform using an RTMP stream key.
- OBS Studio is free, open-source, runs on Windows, macOS, and Linux, and has a massive online community for troubleshooting. You can find guides for best OBS settings tailored to any resolution and bitrate. OBS handles multiple camera inputs, custom scenes, lower-third graphics, and audio mixing.
- vMix is a paid, Windows-only application built for more advanced productions. It supports instant replay, virtual sets, and professional-grade multi-camera switching. Churches with large production teams and bigger budgets benefit most from vMix.
- Wirecast sits in the middle. It offers a polished interface with drag-and-drop production tools and works on both Windows and macOS. It’s solid for churches that want more features than OBS without the complexity of vMix.
If you’re just getting started, install OBS Studio, connect your camera and audio, and learn the basics. You can always upgrade later.
Stream to Social Platforms for Reach, Your Own Site for Control
Once your encoding software compresses the video, it needs somewhere to go. The most common free options are YouTube Live and Facebook Live. Both are easy to set up: paste the stream key from the platform into OBS, click “Start Streaming,” and you’re live. For a step-by-step walkthrough, you can also reference how to find your YouTube stream key.
Free social platforms have real limitations, though. You don’t control the algorithm that decides who sees your stream. Ads may appear over your worship content. Your branding options are minimal, and the viewing experience is wrapped in someone else’s interface.
A dedicated streaming platform gives you more control. You can embed a branded player on your own church website, keep the experience ad-free, and rely on professional-grade CDN infrastructure for reliable delivery. Castr, for example, uses a multi-CDN network (including Akamai, Fastly, and CloudFront) with 40+ ingest locations and supports both RTMP and SRT streaming ingest. Its embeddable player lets you host the stream on your own domain without sending members to a third-party site.
The long-term choice for most churches is a combination: stream to YouTube and Facebook for discoverability, while also embedding on your church website for a branded, controlled experience.
Multistream Once, Reach Every Platform at the Same Time
Multistreaming means sending a single encoded stream to multiple platforms simultaneously. Instead of choosing between YouTube and Facebook, you broadcast to both (and your website) from one source.
This matters because your congregation isn’t on one platform. Some members check Facebook every morning. Others open YouTube. Younger members may watch on your website. Forcing everyone to one destination means someone gets left out.
With a multistream service, you go live once and reach all of them. Castr’s plans support 6 to 10 simultaneous destinations depending on the tier, including custom RTMP endpoints. One volunteer, one encoder, one click, and your service reaches every corner of your digital congregation.
Step-by-Step: Setting Up Your Church Live Stream
Here’s the practical walkthrough from plugged-in cables to a live broadcast. Follow these steps in order, and run through them at least once before your first real service.
- Position your camera. Place it where it has a clear, unobstructed view of the pulpit and stage. Center-aisle shots work well for single-camera setups. Make sure the tripod or mount is stable, and frame the shot so the pastor has headroom without too much empty space above.
- Connect your audio. Run a cable from your soundboard’s auxiliary output to your computer’s audio interface or capture card. If you’re using a standalone microphone instead, connect it via XLR to an audio interface. Confirm the connection before moving on.
- Connect the camera to your computer. Plug your camera’s HDMI (or SDI) output into a capture card, then connect the capture card to your computer via USB. If you’re using a hardware encoder, connect the camera directly to it.
- Install and configure your encoding software. Open OBS Studio (or your chosen encoder). Add a “Video Capture Device” source for your camera and an “Audio Input Capture” source for your soundboard feed. Arrange them in a scene that looks clean on screen.
- Set your resolution and bitrate. For most churches, 1080p at 30 fps with a bitrate for 1080p between 4 and 6 Mbps is the sweet spot. Match your output resolution to what your camera and internet can support.
- Enter your stream key and RTMP URL. Copy the stream key from your streaming platform’s dashboard and paste it into OBS under Settings → Stream. Platforms like Castr provide both an RTMP and SRT ingest URL, which you’ll find on your stream dashboard.
- Run a test stream. This is the step most churches skip, and it’s the one that saves you from public embarrassment. Go live to a private or unlisted stream. Check video, audio, and stability for at least five minutes. Have someone watch on a phone and a laptop to verify the viewer’s experience.
- Go live. Once the test is clean, switch your stream destination to your public channel or embed player. Click “Start Streaming” in OBS. Announce the stream to your congregation.
- Monitor the stream. Assign a dedicated volunteer to watch the live output on a separate device throughout the service. They should monitor audio levels, video quality, chat messages, and internet stability. If something breaks, they’re the first responder.
- End and save the recording. When the service concludes, click “Stop Streaming” in OBS. If your platform supports Live to VOD, the recording is automatically saved for on-demand viewing. If not, ensure OBS is set to record locally as a backup.
How Much Does It Cost to Live Stream a Church Service?
Cost is the first question many church boards ask. The honest answer: you can start for under $500 or invest several thousand dollars for a polished production. The key is separating one-time equipment purchases from recurring platform fees.
| Tier | One-Time Equipment | Monthly Platform Cost | Best For |
| Budget | $300–$500 (smartphone or basic camcorder, USB mic, tripod) | $0 (YouTube/Facebook) | Small churches just getting started |
| Mid-Range | $1,000–$2,500 (camcorder or PTZ camera, audio interface, capture card, laptop) | $20–$50/mo (dedicated streaming service) | Growing churches wanting reliability and branding |
| Professional | $5,000+ (multiple PTZ cameras, hardware encoder, professional audio, lighting) | $50–$200/mo (advanced platform with CDN, multistreaming, monetization) | Large churches or multi-campus ministries |
A smartphone clamped to a tripod, paired with a basic lavalier mic and free OBS software, genuinely works for a church starting from zero. The quality won’t win awards, but it gets the sermon to homebound members this Sunday. As your streaming ministry grows, recurring platform costs become the main budget item.
The most expensive part of church streaming isn’t the money. It’s the volunteer hours. Invest in training your team, and the dollars stretch further.
Best Practices That Separate “Good Enough” from “Worth Watching”
Getting a stream online is the first milestone. Making it feel polished and reliable is the next. These habits separate a functional stream from one that remote viewers actually look forward to.
- Use multiple camera angles. A single static shot works, but it gets monotonous during an hour-long service. Even two cameras (a wide shot and a close-up of the speaker) let you cut between angles and keep the visual experience engaging.
- Feed audio directly from the soundboard. We covered this in the equipment section, but it bears repeating: direct audio is non-negotiable for professional quality. Room microphones pick up coughs, HVAC hum, and reverb that ruin the listening experience.
- Add lower-third graphics and overlays. Display the pastor’s name, song lyrics, scripture references, and announcements as on-screen graphics. OBS supports image and text overlays natively. Advanced platforms offer cloud-based production tools for switching and overlay management without additional software.
- Keep a consistent streaming schedule. Publish the same start time every week so remote viewers build a habit. Consistency builds trust and grows your digital congregation over time.
- Build a dedicated streaming team. Don’t rely on one person. Train two or three volunteers who can rotate. Document your setup process so anyone on the team can run the stream independently.
- Run a pre-service test stream every week. Equipment shifts, cables loosen, software updates. Five minutes of testing before doors open catches problems while you can still fix them.
- Set up backup internet or backup ingest. A dropped stream during the sermon is the worst-case scenario. A mobile hotspot as a secondary connection, or a platform that supports backup ingest, gives you a safety net.
- Record every stream for on-demand replay. Members who miss the live broadcast should be able to watch later. The Live to VOD feature offered by many platforms saves the recording automatically, making it available on your website or VOD platform without extra steps.
Perfection isn’t the goal. Steady improvement is. Review your stream recordings each week, note what to fix, and iterate.
How to Turn Passive Viewers into Active Participants
A remote viewer watching a static feed with no interaction is just watching TV. The difference between broadcast and worship is participation. Your job is to close that gap for the people who aren’t in the room.
Assign a dedicated online host. This volunteer monitors the live chat, greets viewers by name, responds to prayer requests, and makes remote members feel seen. The host should not be the same person running the technical side of the stream.
Enable live chat on your player. If you embed the stream on your church website, use a player with a built-in chat box. Castr’s embeddable player, for instance, includes a chat widget where viewers can comment using guest mode, tag each other, and pop the chat out into a separate window. This keeps the conversation alongside the service rather than scattered across social media comment sections.
Invite prayer requests. Announce during the service that remote viewers can submit prayer requests through the chat. Read a few aloud (with permission) to bridge the gap between the physical and digital congregation.
Create a social media hashtag. A simple hashtag like #YourChurchLive lets online and in-person members share the experience on their own feeds, extending your reach organically.
Follow up after the service. Send a short email or social media message thanking online viewers for joining. Include a link to the recorded sermon and next week’s schedule. This small act of follow-up turns one-time viewers into regulars.
3 Monetization Models That Fund Your Streaming Ministry
Monetization is a sensitive topic for churches, and it should be. But funding the streaming ministry itself (paying for equipment upgrades, bandwidth, and platform subscriptions) is a legitimate need. Some churches also host ticketed events, guest speaker series, or conferences where pay-per-view access makes sense.
Pay-per-view lets you charge a one-time fee for access to a specific event. A guest speaker series, a holiday concert, or a multi-day conference are natural fits. Viewers pay once and get access for the duration.
Subscription access works for churches that offer a library of on-demand content: sermon archives, Bible study series, worship music recordings. Members pay a monthly or yearly fee for unlimited access.
Ad insertion via SSAI (Server-Side Ad Insertion) stitches ads directly into the video stream on the server, so they play without being blocked by ad blockers. This can generate passive revenue, though many churches prefer to keep worship ad-free and reserve ads for supplementary content.
Castr’s monetization platform supports all three models. Its paywall offers pay-per-view and subscription options, integrates with 30+ payment gateways, and includes customizable branding so the payment experience matches your church’s look. VAST/VPAID support enables ad insertion for churches that choose that route.
Start Reaching Your Congregation Beyond the Sanctuary
Every church can start streaming with modest equipment and the right platform. The path runs from a single camera and microphone, through encoding software like OBS, to a reliable streaming destination that delivers your service to remote viewers. Layer in engagement habits, involve your online congregation, and improve each week. That’s the entire playbook.
Castr gives churches the infrastructure to stream with confidence. Its multi-CDN network, powered by Akamai, Fastly, and CloudFront, delivers 99.9% uptime across 40+ ingest locations worldwide. Multistreaming sends your service to 6–10 destinations at once. The embeddable player with built-in chat keeps your congregation connected right on your website. SRT and RTMP ingest, backup ingest, and adaptive bitrate protect your stream quality even when internet conditions fluctuate. Live to VOD saves every service automatically. And transparent pricing starting at $19.99/mo means you know exactly what you’re spending.
Beyond the core streaming tools, Castr offers 24/7 dedicated support via Slack and WhatsApp, a paywall for monetizing events, Playout for building a 24/7 church streaming channel, and white-label OTT apps for churches ready to create a fully branded viewing experience.
Try Castr for free with a 7-day trial, no credit card needed, and see what your ministry looks like when distance is no longer a barrier.